Friday, May 31, 2013

Nail of the Month !

Hello again everyone!

Today I am launching a new page called Nail of the Month! Every last day in the month I will add the best nail from the past month.

I will announce the best nail of the month by dictatorial manners, but maybe sometime in the future I will add a vote so we can announce the best nail in best democratic fashion. 
If you find my autocratic choice totally out-of-control-wrong, please don't hesitate to contact me :)

The winner of May 2013:

Barry M - Croc Effects!


Studded Funky Orange

This will just be a short post since I am working aaaall day today!
I decided to re-do the triangle micro bead/studded look you saw on my thumb the other day.
 I'm wearing GOSH Funky Orange. 

I got these three things above for free yesterday! Weeee... I had to buy something to get it though..
Psst, Danish viewers - If you buy 2 Max Factor products in Matas you receive this gift!

Later, Marie

Wednesday, May 29, 2013

Dark Side of the Moon nails!

Dear readers, may I introduce to you my Pink Floyd nails, Dark Side of the Moon!


The stripes are made with a pointy dotting tool.
To do this you must put a drop of your chosen nail polish on a piece of paper (or something like that) and use this to dip your dotting tool in.

I tried to do this on my left hand too, but the stripes came out too uneven (I'm left handed) so I had to give it up, and my left hand is now just pure black. I won't show you my other hand today beacuse 1) it's just black and b) I broke a nail while bowling last evening :(


The black polish I used is from Maybelline Colorama '677 Blackout'.

I sure love this design, without being a smug or anything!
Well, have a nice day!

- Marie

Today . . .

Today I got a cool design inspired by a cd cover coming up! Stay tuned, and check in again later to see which one it is ! It's epic ;)

- Marie

Tuesday, May 28, 2013

Marble nails with plastic wrap !

Hello everyone!
So this is my first attempt with using plastic wrap/cling foil, but definitely not the last time I am doing this! There are just endless opportunities in color mixing. It's really, really easy to do this - check out my guide below the pictures! And the result is this awesome marble effect!


I used Rimmel Rhythm & Blues as base and a white Gosh on top. And top coat.

I look forward to try out this method with some other colors! 

Here's a short guide to make your own marble nails:
  • Paint your nails in your chosen color. Wait for it to dry completely. This is your base color.
  • Take some plastic wrap - a little piece is enough - crumble/curl up a bit (not sure which term is the right??) 
  • Put the nail polish you want as top color on your nails. While still wet, dab the plastic foil on the polish until you have pattern you want.
  • Finish with top coat - VOILA!! 
Below you can see the plastic foil crumbled up, ready to use!

So, let me know what you think - did I do well? :)

- Marie 

Monday, May 27, 2013

NefariouslyNiftyNails on Facebook


Nefariously Nifty Nails is now on FACEBOOK!
Follow this link, like the page and get updates on your wall when there's new postings from your favorite blog ;)

https://www.facebook.com/pages/Nefariously-Nifty-Nails/521947074508204


 - Marie

Sunday, May 26, 2013

Rimmel - Rhythm & Blues with handplaced micro beads

Hello everyone!
Today I felt like trying on my new nail polish from Rimmel called Rhythm & Blues! It's a very dark blue that looks almost black from a distance.


I love all these colors that are almost black, but still have a little color in them. 
Only bad thing about dark polishes is that all kinds of light reflects in them so it can be a little difficult to capture a good photo of them!

As you can see I played a little with some micro beads aswell!


Here are some close-ups of a the triangle on the thumb. I like how it turned out.


And here are the products used:
 Rimmel - Rhythm & Blues. HotMakeup - caviar micro beads. Loreal - topcoat.

- Marie

Ps. I have decided not to write my posts in Danish anymore. Any objections - please write to me.

Saturday, May 25, 2013

Splash

Have you seen Models Own's newest collection Splash?? I totally want it!
The polishes are with little colored flakes in them. I specially like the purple and the blue. But I want them all! Gotta catch them all!
If you already got it, I would like to see your manicures with them :)

- Marie 

Friday, May 24, 2013

FNUG Futuristica - holographic

Because of the great weather today I changed my mind - I had actually planned on something else than Futuristica holographic polish for you today! But but but, no holo without sunlight, and since we only got rain and rain and rain right at the moment I just had to take advangtage of the sun today! So therefore; FNUG Futuristica!
These are the products used:

Before using Fnug's holographic polishes it is recommended that you use Fnug's Aqua Fix Basecoat. This evens the nail and makes the holo effect brighter. As promised when I swatched FNUG psychedelic holo I did a test today to see if there is a difference with and without Basecoat. And there is! Not a big difference, but it's there. Can you guess which finger is without the Basecoat?


The correct answer is................Ring finger!! Ring finger is without basecoat! It was just a littlebit less shiny than the others... All fingers are with basecoat on these next pics.


 So nice and sparkly! One coat is used.


On the next picture I have FNUG psychedelic holo on the ring finger. It's pure silver, compared to Futuristica which is silverblue.. 


 And finally we have a close-up!
To the left: Futuristica. To the right: Psychedelic. 
I just love the sparkle! Hip hip hooray for holographic polishes!!

So, which one do you like the best? Psychedelic or Futuristica? And did you guess ring finger?  :)

- Marie

Coming up today!

Hello dear readers!
Today I got a swatch of a beautiful holo polish for you! I will post it later,because right now we are preparing for a birthday. See you later!

- Marie

Wednesday, May 22, 2013

Barry M - Croc Effects

Hello everyone! 
I just received this Barry M Croc Effects, and I must say I already love it! 
I used it with Ciate 019 Mojito as base color. 


Application is very easy. You put on the polish you want underneath your Barry M Croc Effects - in my case the light green Mojito by Ciate. You wait until the polish is a little dry - NOT completely dry cause then the Croc Effect wont work - and then you cover the polish with Barry M Croc Effects. Not too thin a layer because then the cracks will be totally tiny. After some minutes your nails are Croc designed!


It is always a little exciting to see how the pattern turns out. I had to remove the polish from my middle finger twice, first time because I had put too thin a layer of Barry M Croc Effects on it and second time because I didn't wait long enough for Ciate's Mojito to dry before putting Croc Effects on!


I think it will look great with a blue polish as base color aswell! I will try someday in the future to put some different colors underneath. I love it! What do you think?

- Marie 

Help the blogger by joining this blog if you like it :)

Dansk:
Hej allesammen! Jeg har lige fået denne Barry M croc effects med posten, og jeg elsker den allerede! Jeg har brugt Ciate 019 Mojito under den.
Applikation er meget nemt: Du tager den neglelak på, som du vil have under Croc Effects - i mit tilfælde Ciate Mojito. Vent til den er tørret lidt, men den må ikke være HELT tør, og put så Croc Effects ovenpå. Ikke for tyndt en lag, for så bliver revnerne alt for små. Efter et par minutter har du krokodille mønstrede negle! 
Jeg tror også det vil se rigtig pænt ud med en blå neglelak som base istedet for den grønne..jeg vil prøve engang i den nærmeste fremtid med nogle forskelllige farver neglelak under. Hvad synes I? :)
- Marie 

Monday, May 20, 2013

I want YOU ! ! !

Hi again everyone :)
So, today I want YOU to tell me what I could do better (sure I could do everything better, but I want to hear what you think) and what (if anything) I am doing right-ish on this blog.
It could be anything! From layout, pictures, writings to swatching - you name it! I will use everything you say constructively to make a better blog for you.

Please leave a comment or write me an email on nefariouslyniftynails@gmail.com.
Thanks in purpose. It would make me HAPPYYYY!!

- Marie

Ps. Today I purchased some totally awesome nail gear! I won't reveal anything, but stay tuned! It's gonna be good. Hoping to receive it ASAP!!


Dansk: 
Hej igen allesammen! Jeg vil rigtig gerne høre DIN mening om hvad jeg kan gøre bedre og hvad (hvis der er noget!) jeg gør godt på denne blog.
Det kan være alt ligefra layout og tekst til billeder og swatching! Jeg vil tage både ris og ros konstruktivt til mig til at lave en bedre blog til jer.

Smid en kommentar eller skriv en mail til nefariouslyniftynails@gmail.com
Tak på forhånd!


- Marie 

Ps. Idag har jeg gjort et virkeligt godt negle-lir-køb! Jeg afslører ikke hvad, men hold jer opdateret. Det bliver godt! Håber på at modtage det hurtigst muligt!

Sunday, May 19, 2013

HotMakeup - Caviar Micro Beads


Hello dear readers!
May I present for you my first attempt with caviar micro beads!! I think it turned out better than i had hoped... I thought the beads would be much more all over the place and difficult to work with, but they were very easy to deal with! I know the beads are not totally even on the nail, but that's fine with me. Me likey anyways.

These are the caviar beads I used.

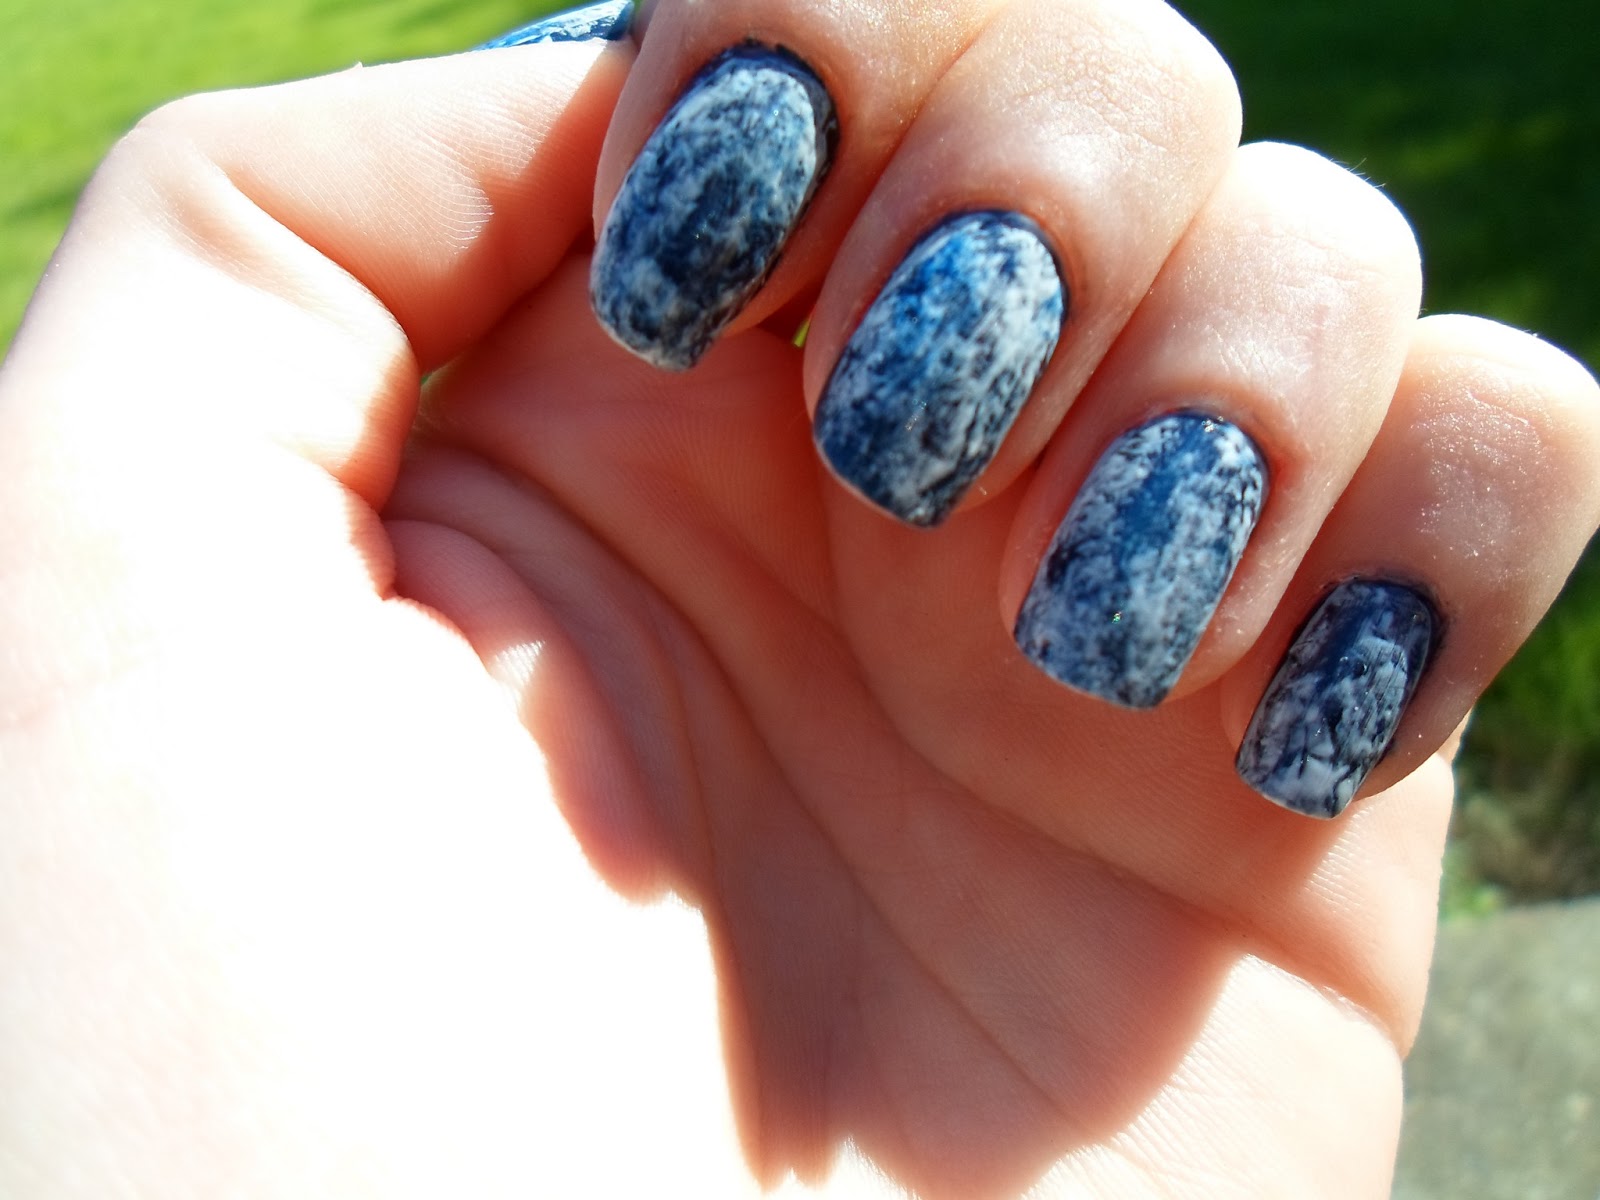
On the other nails I made a classic French manicure.

All French tips are made freehand.
Here you can see it from a bigger distance.

Gosh 525 Powder, Gosh F2 Nail Tip, HotMakeup beads.
So do you like Caviar manicures, and did I do well?
I would like to do a Vlog for you, if you would like it? Just let me know :)
 
What you need:
- Nailpolish you want on your other nails, or if you're doing all your nails, polish to put under the beads.
- Caviar Beads
- Bowl, where you collect the beads that doesn't stick to your finger (you can easily put these into the container again with a tray or simply a bend piece of paper.
- Top coat.  

How I did it:
1) started up by doing the French tips.
2) put a thick layer of Gosh Powder on all my nails, except the ones where the beads should be.
3) once the other nails were done and dry, I put a thick layer of Gosh powder on (in my case) the ring finger and poured the beads on my nail over a bowl.
4) press the beads carefully so they stick a little better to the polish.
5) give them some time to dry on the polish.
6) put top coat over the beads so they don't fall off so easy. Number 5 is a little important because if you put top coat over the beads before the beads are just a little dry, you move them around with the brush from the top coat.
7) allow to dry and Voila! Caviar manicure!

- Marie


Dansk: 
Mit allerførste forsøg med Caviar perler! Det gik faktisk meget bedre end jeg havde håbet på. Troede kuglerne ville være meget mere ustyrlige, men de var faktisk ret nemme at styre! På mine andre negle har jeg lavet fransk manicure. Alle franske tipper er lavet i frihånd.

Hvad du skal bruge:
- neglelak, til at putte på dine andre negle og/eller under dine caviar kugler.
- Caviar kugler.
- Skål, hvori du samler de kugler der ikke klistrer til din negl. Disse kan nemt fyldes i glasset igen, enten med en lille tragt eller et foldet stykke papir.
- Top coat
Fremgangsmåde:
1) Start med at lakere de negle der ikke skal have caviar kugler på.
2) Put et tykt lag neglelak på der hvor kuglerne skal være
3) Hæld kuglerne ud over din negl ovenover skålen
4) Pres forsigtigt kuglerne lidt ned i neglelakken så de hænger bedre fast
5) Giv dem lidt tid til at tørre
6) Påfør top coat. Punkt 5 er vigtigt for hvis ikke kuglerne er tørret en lille smule ind på lakken, flytter de sig rundt når du rører dem med børsten fra din top coat.
7) Lad det tørre og Voila! Caviar Manicure!

Hvis I har lyst vil jeg gerne lave en video til jer med fremgangsmåde, bare lad mig vide det :)
- Marie